Before Transcribing,
• Make sure that the audio file is in mp3 or wav format and the file size is less than 100MB.
If it is only at the ‘right channel’, you need to make it stereo, otherwise, your transcribe will be empty.
• Language option: As the default language setting will be English, you should select the language that the audio file is in 135 different dialects in 71 languages.
• You should select the relevant language and dialect from the language settings. Ex: Portuguese but for Brazil or Portugal.
• The machine understands only one language: If there is both English and another language content in the same voice recording, you should transcribe it 2 times for each language and combine texts later.
You can see suggestions when you click on the lines with the text; right-click on the "words underlined in red". Right-click and correct with the recommended spelling.
Step-by-step walkthrough on how to use every feature
Turning your audio files to text has never been easier with Voiser Transcribe!
1- Uploading an Audio File
Click on browse to upload your files in .mp3 or .wav formats. File size cannot exceed 100 mb.
2- Naming your Work
Give your work a name so you can easily access it later.

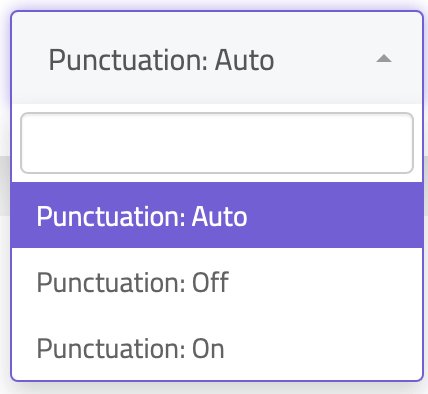
3-Set the Punctuation Settings
If the punctuation setting is on auto, the punctuation marks are added by the system automatically, according to the progress of the speech. If the setting is on, the decoding motor feels obligated to put punctuation marks, and if it is off, no punctuation marks are used.
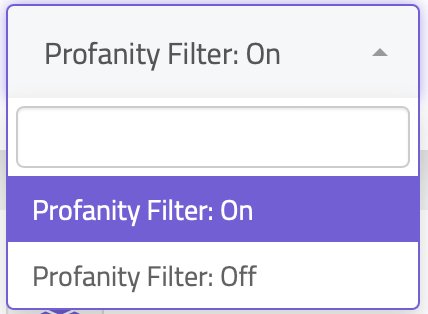
4- Adjust the Profanity Filter
When the profanity filter is turned on, swear words and vulgar language will be censored and shown as (***) in the text. If it is turned off, they will be shown as they are.
5-Choose the Language
It is the setting to choose the language spoken in your audio file, not the setting to translate the transcribed text into another language.

6-Initiate the Transcription Process
Click on “Convert Audio to Text” button and wait for your file to be loaded. The transcription process will start afterwards. Once the process is finished and the tab is still open, you will be notified by a bell. Navigate to the column of the finished work and click on details icon to access your transcription.
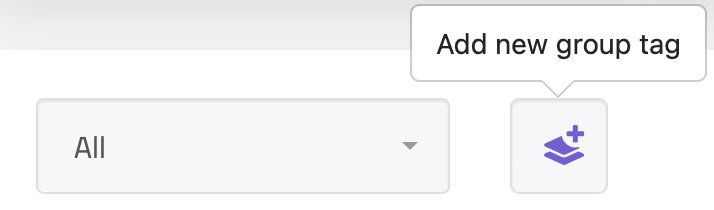
7-Grouping the Transcription Works
You can group your works together on the transcription board for an easier and more practical experience. Navigate to the board on which the transcriptions are listed, click on the folder icon on the line to assign the work to a previously created file.
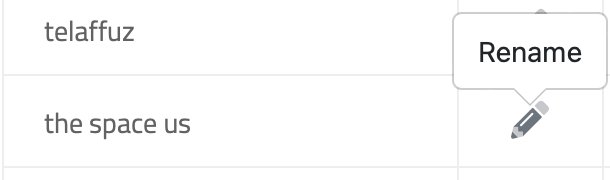
8- Renaming the Transcription Works
You can rename the transcription work by navigating to the board on which the transcriptions are listed and clicking on the pencil icon next to the name of the work.
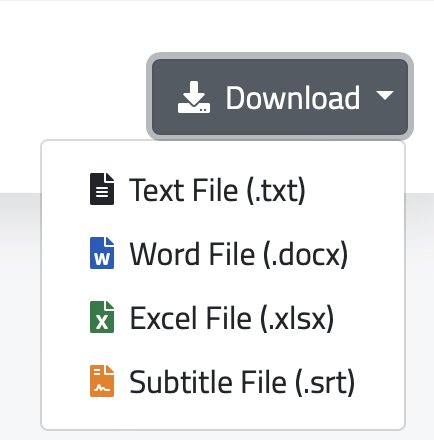
9- Downloading Options
When the transcription process is done you will be notified by a text that reads “Finished”. Then you can reach your transcription by clicking on “go” and easily download it by choosing the format that best suits you.